
Last updated November 18, 2026




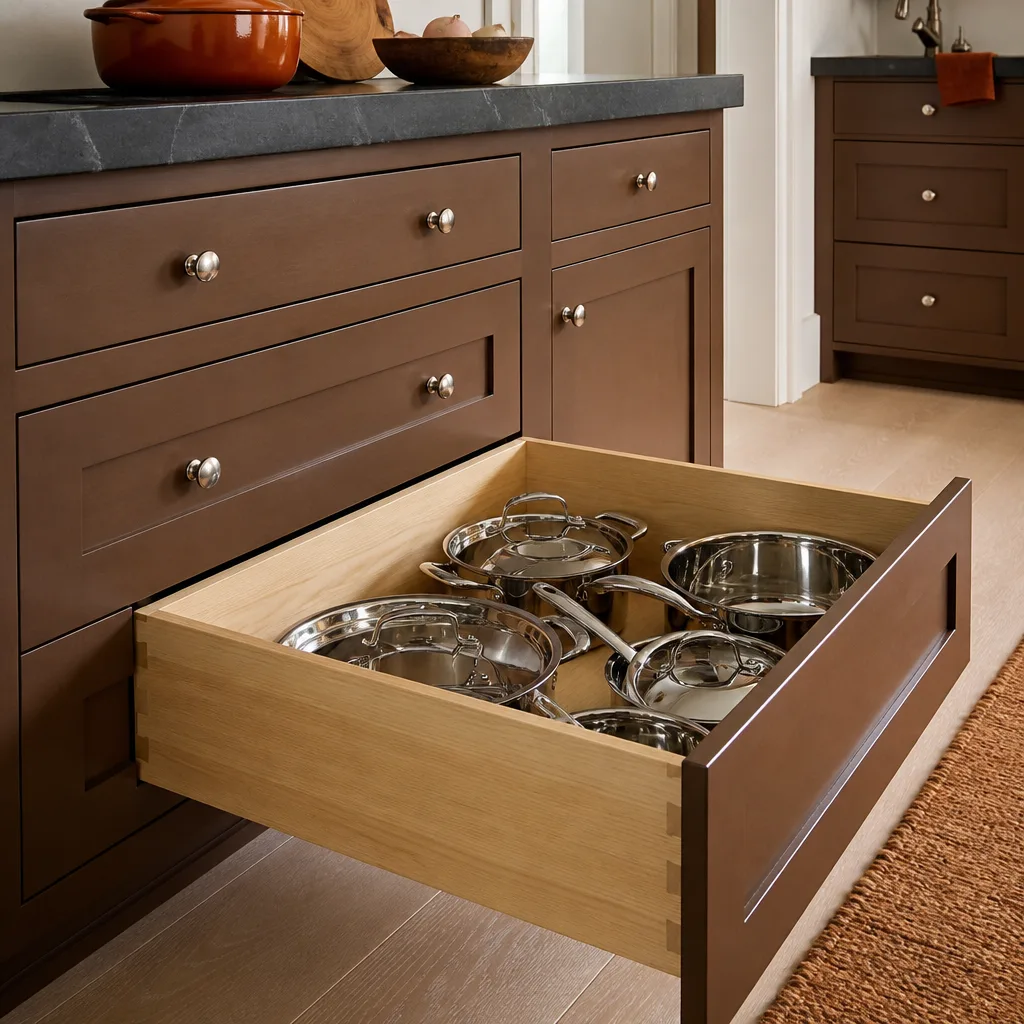



Free design consultation - KraftMaid and Wellborn cabinet lines, Cambria and Silestone surfaces, and every tier from refacing to full custom laid out side by side
Kitchen Remodeling Warning Signs: A North Las Vegas Homeowner’s Reference Guide
Most warning signs in a kitchen aren’t dramatic. No smoke, no collapse, no flood. That’s the problem. A cabinet door that won’t stay shut, a countertop seam that feels slightly raised under your hand, grout that cracks in the same spot season after season. Homeowners read these as cosmetic annoyances and move on. In a North Las Vegas kitchen, they’re often the first symptoms of substrate movement, finish failure, or an installation that was wrong from day one. This guide walks through the desert-specific signs a kitchen specialist spots immediately and a generalist misses until the repair bill triples.
Quick Answer
Kitchen remodeling warning signs in North Las Vegas show up as small, repeatable failures: cabinet finish bubbling near windows, sticking drawers that aren’t humidity swings, countertop seams catching a fingernail, and grout cracking in one recurring line. Each points to a specific cause – UV and heat stress on the wrong cabinet finish, substrate movement under the stone, or a ventilation hood sized for a different kitchen – and each gets more expensive the longer it’s ignored.
Styles & brands we work with
- Shaker
- Modern flat-panel
- Two-tone cabinets
- KraftMaid
- Cambria quartz
- Butcher block
- Open shelving
Table of Contents
- Desert-Specific Warning Signs
- Structural Signs in North Las Vegas Tract Homes
- Hard Water and Fixture Warning Signs
- Ventilation Red Flags
- Catching Poor Workmanship During the Remodel, Not After
- How to Evaluate the Signs: A Step-by-Step Approach
- What Premium Brands Actually Signal
- Repair vs. Replace: When a Warning Sign Means a Full Remodel
Desert-Specific Warning Signs
Cabinet finish bubbling, peeling, or delaminating near a window is a North Las Vegas signature that has almost nothing to do with the cabinet’s age. It’s a spec failure. The desert delivers a combination that punishes the wrong finish: intense UV exposure through west- and south-facing glass, surface temperatures on cabinets that climb well beyond ambient room temperature, and very low humidity that pulls moisture out of wood and finishes. A finish built for a temperate climate and a shaded wall can look beautiful at installation and start failing in a few summers.
Where you see it matters. Finish bubbling localized to one full sun exposure tells you the cabinet line and finish spec weren’t matched to that wall. Delamination spreading evenly across every door, regardless of position, points to a manufacturing or application problem. Uneven bubbling on the lower cabinets only often traces back to cleaning products or moisture from the sink, not UV at all.
What to look for:
- Bubbling or blistering on door faces near windows or sliding doors: UV and heat load, usually a finish spec issue.
- Peeling along the edges where door face meets frame: edge sealing broke down, often humidity or cleaning chemical exposure.
- Fading that’s uneven across the run: one exposure getting direct sun, another shaded.
- Delamination on the inside of doors and drawer fronts: typically moisture or a manufacturing defect, not UV.
None of this means the cabinets were cheap. It means the finish wasn’t chosen for the room. That’s exactly the kind of decision a specialist makes up front and a generalist often skips. When those failures stack up across a kitchen, cabinet installation is usually the starting point of the fix, and the right cabinet line – one with finishes rated for high UV exposure – is half the solution.
Structural Signs in North Las Vegas Tract Homes
Older tract homes across North Las Vegas develop a set of structural warning signs that don’t read as urgent but compound fast. The desert is hard on houses: expansive soils that move with moisture, extreme summer heat that expands and contracts framing and slabs, and long dry stretches followed by monsoon-season rain. Add a kitchen renovation layered on top of the original build, and small misalignments start showing up under the stone and behind the cabinet boxes.
The signs worth watching:
- An unlevel countertop reveal: the gap between the counter edge and the cabinet face varies from one end of the run to the other. This usually means the cabinet bases are out of plane, not that the countertop was cut wrong.
- Drawers that stick, but only in some spots: if a drawer sticks every day regardless of weather, the box is out of square or the slides were installed with the cabinet face out of plumb.
- Toe-kick gaps that widen over time: the gap between the cabinet bottom and floor opening up in one area points to floor or subfloor movement.
- Doors that drift out of alignment seasonally: the hinges need adjustment, or the cabinet face isn’t fixed to a stable substrate.
- Countertop joints that open and close: seasonal wood movement under a rigid stone surface, which the stone was never designed to absorb.
The mistake homeowners make is treating each of these as a separate, minor issue. They’re usually one thing: the cabinetry wasn’t leveled and shimmed to the floor as it actually sits, and the countertop was installed over that instability. The fix starts with correcting the base. That’s the difference between a cosmetic patch and a kitchen remodeling project that lasts.
Hard Water and Fixture Warning Signs
North Las Vegas water runs hard, and that changes what “just minerals” looks like. Mineral spots on a faucet or sink that wipe away cleanly are cosmetic. Water staining that has a shape – a crusty ring at a fixture base, a white line creeping down the wall from under a handle, a chalky buildup only on one side of the sink – is a different conversation. That’s evidence of a seal that’s failing and letting water out where it shouldn’t go.
How to tell them apart:
- Wipe the spot. If it disappears with a damp cloth and returns in the same pattern only after water sits, it’s mineral deposits.
- Look underneath. Mineral staining on the counter around the base of a faucet often sits over a failed gasket or caulk line, not just surface water.
- Check the cabinet floor under the sink. Soft spots, warping, or a musty smell point to a supply line or drain connection that’s been weeping.
- Watch for one-sided staining. If buildup collects on one side of a sink or faucet and not the other, the water isn’t the only variable – the seal is.
Fixture quality matters here more than homeowners expect. A faucet and sink pair from a brand like Moen or Blanco, installed correctly, holds a seal far better than a builder-grade fixture pushed into service for fifteen years. Once the seal is gone and water has started migrating under the counter, the repair isn’t a new faucet – it’s a new faucet plus whatever the cabinet floor and substrate now need.
Ventilation Red Flags
Ventilation is the most under-inspected part of a kitchen, and in North Las Vegas, the stakes are higher than most homeowners realize. The combination of heavy cooking, a tight house, and a range hood that’s undersized, improperly installed, or recirculating instead of venting outdoors creates a slow, invisible problem. You don’t get a dramatic failure. You get cooking odors that linger for hours after dinner, moisture building up on cabinet interiors, and ceiling paint slowly yellowing above the range.
The signs worth taking seriously:
- Cooking odors that stick around long after you’ve stopped cooking: the hood isn’t moving enough air, or it’s venting into the room instead of outside.
- Moisture or greasy film on the inside of upper cabinet doors near the range: airflow isn’t capturing steam and airborne grease at the source.
- Discolored or slightly wrinkled ceiling paint above the range: heat and moisture the hood never pulled out.
- A hood that’s noticeably louder than it should be: an undersized duct run forcing the fan to work harder than it was designed to.
- Condensation dripping back down onto the range surface: a ducting run that isn’t pitched correctly.
If the cabinet finish above the range is failing while the rest of the kitchen looks fine, the hood is the first thing to evaluate – not the cabinet line. Replacing cabinets over a hood that’s not doing its job just installs the same failure twice.
Catching Poor Workmanship During the Remodel, Not After
The most expensive warning signs are the ones nobody catches until the punch list is long gone. During a kitchen remodeling project, workmanship problems are visible if you know where to look. After the last check is signed and the crew leaves, they become your problem. Here’s what to inspect while the work is still open:
- Grout joints: they should be consistent in width across the entire backsplash or tile field. Varying widths mean the tile was set without consistent spacers, or the substrate wasn’t flat.
- Reveal gaps around cabinet doors: the gap between each door and the frame, and between doors, should be even and consistent. A door sitting tight at the top and wide at the bottom is installed out of plumb.
- Countertop seams: run a fingernail along any seam. It should be smooth, tight, and level. A seam that catches or sits proud is an installation problem that hard water and daily cleaning will accelerate.
- Unsealed stone edges and cutouts: the edge of a sink or cooktop cutout in quartz or natural stone should be finished and sealed. An exposed raw edge absorbs moisture and stains.
- Drawer alignment and slide feel: open and close every drawer while the crew is still there. Smooth from day one or fixed before sign-off – nothing in between.
- Caulk and sealant lines: clean, consistent, and applied to a dry surface. Sloppy sealant application at a sink or backsplash is a short-lived seal.
Ask to inspect each of these before the project closes out. A specialist expects the request. A generalist often doesn’t know which items to walk you through, because kitchens are one line item among many on their schedule. Your kitchen is the only room we remodel – and that focus is exactly why the details on this list get caught during the job, not three years after.
How to Evaluate the Signs: A Step-by-Step Approach
When you notice a warning sign, the wrong move is to wait for it to get worse. The right move is a quick, structured evaluation. Here’s the process we walk homeowners through:
- Document what you see. Take dated photos of the failure – the bubbling, the seam, the crack. Note which walls or zones are affected and which aren’t. The pattern is often more diagnostic than the damage.
- Test for seasonality. Does the door stick year-round, or only in the dry months? Does the crack reopen after a monsoon rain? Seasonal patterns point to substrate movement, not a cosmetic defect.
- Check the source, not the symptom. A sticking drawer isn’t a drawer problem – it’s usually a cabinet box problem. A cracking grout line isn’t a grout problem – it’s usually a substrate or movement problem.
- Look at the whole kitchen, not one cabinet. If three doors near the window are failing and the rest are fine, that’s a spec or exposure issue. If every door is failing, that’s a manufacturing or finish problem.
- Get an expert eye on it. Some signs are cosmetic. Some are one small decision away from turning into a full cabinet replacement. A kitchen specialist can tell you which you’re looking at in a walk-through.
None of this requires you to pull apart your own cabinetry or diagnose the framing. It requires you to notice and to compare what you see against the patterns a specialist recognizes.
What Premium Brands Actually Signal
Brand names matter in a kitchen remodel, but not for the reason homeowners usually think. The point isn’t the logo on the cabinet box. It’s that the brand’s construction standards, finish specs, and warranty terms are designed to hold up in a real kitchen in a real climate. Choosing between two premium cabinet lines – KraftMaid and Wellborn, for example – isn’t a marketing decision. It’s a decision about door construction, finish durability, and how the cabinet was built to perform against heat and UV.
The same logic applies to surfaces. Cambria, Silestone, and Caesarstone are all quartz, but they differ in slab aesthetics, edge options, warranty terms, and how they handle daily wear. Choosing one without comparing them side by side means leaving the decision to whoever happens to stock one brand. On the finish end, fixtures and sinks from Kohler, Moen, or Blanco match the caliber of the cabinetry – and their warranties are often written to transfer to the homeowner, which matters when you’re evaluating a failure two or three years later.
What does this have to do with warning signs? Everything. The reason a cabinet finish bubbles near a window isn’t that the cabinet was bad – it’s that the wrong finish was specced for that wall. The reason a countertop seam lifts is rarely the stone – it’s that the cabinet base wasn’t stable when the stone went down. Correct brand-and-spec pairing, done up front, is the most reliable protection against the warning signs in this guide.
Repair vs. Replace: When a Warning Sign Means a Full Remodel
Not every warning sign means you need a new kitchen. Many are fixable within a cabinet installation or countertop installation scope. But some combinations point to a full remodel, and it’s worth knowing the difference before you decide how to spend your money.
Usually a repair:
- One cabinet door with a failed finish on a single full-sun wall (replace the door, reselect the finish on that run).
- A single drawer that sticks (adjust or replace slides).
- Mineral staining on a faucet that wipes away (cosmetic).
Usually a sign of a bigger project:
- Multiple cabinet doors de-laminating across the kitchen (finish was never right for the room).
- A countertop seam that’s raised and getting worse (substrate instability under the stone).
- Toe-kick gaps widening, doors drifting out of alignment, drawers sticking year-round (cabinet base out of plumb or level).
- Every sign of moisture above the range (the hood isn’t doing its job, and nothing above it will last until it is).
When two or more of these show up together, the cheaper path is almost always a full re-scope of the cabinetry and surfaces – not a series of patch repairs on a foundation that keeps moving. That conversation is worth having with a specialist early, before a small failure has spread into a kitchen-wide problem.
Common Mistakes to Avoid
- Treating every sign as cosmetic. A sticking drawer isn’t a drawer problem. It’s usually a sign the cabinet box or slides were installed out of plane. Fix the cause, not the drawer.
- Repainting or refacing over a failing finish. In the North Las Vegas heat, a repaint over delaminating material traps the failure underneath and looks worse in a year. The finish spec has to be corrected, not covered.
- Ignoring ventilation because the hood “works.” If cooking odors linger and cabinet interiors near the range feel damp, the hood isn’t sized or vented correctly, and the cabinet finish will keep failing until it’s fixed.
- Relying on hard water spots as the whole story. Mineral deposits are cosmetic – staining that has shape and direction is a failing seal. Treating a leaking fixture as a cleaning problem lets water damage spread under the counter.
- Skipping the during-remodel inspection. The grout widths, reveal gaps, and seam flushness you see while the crew is still working are the easiest problems you’ll ever catch. Walk them before sign-off.
- Choosing a single cabinet or surface brand by default. A kitchen remodeler who only carries one line can’t help you match finish to exposure. Compare KraftMaid vs. Wellborn, or Cambria vs. Silestone vs. Caesarstone, before committing.
- Assuming the wrong species of workmanship fixes itself. Contractors who treat kitchens as one item on a long list miss the details a specialist catches. In a North Las Vegas kitchen, those details are the whole job.
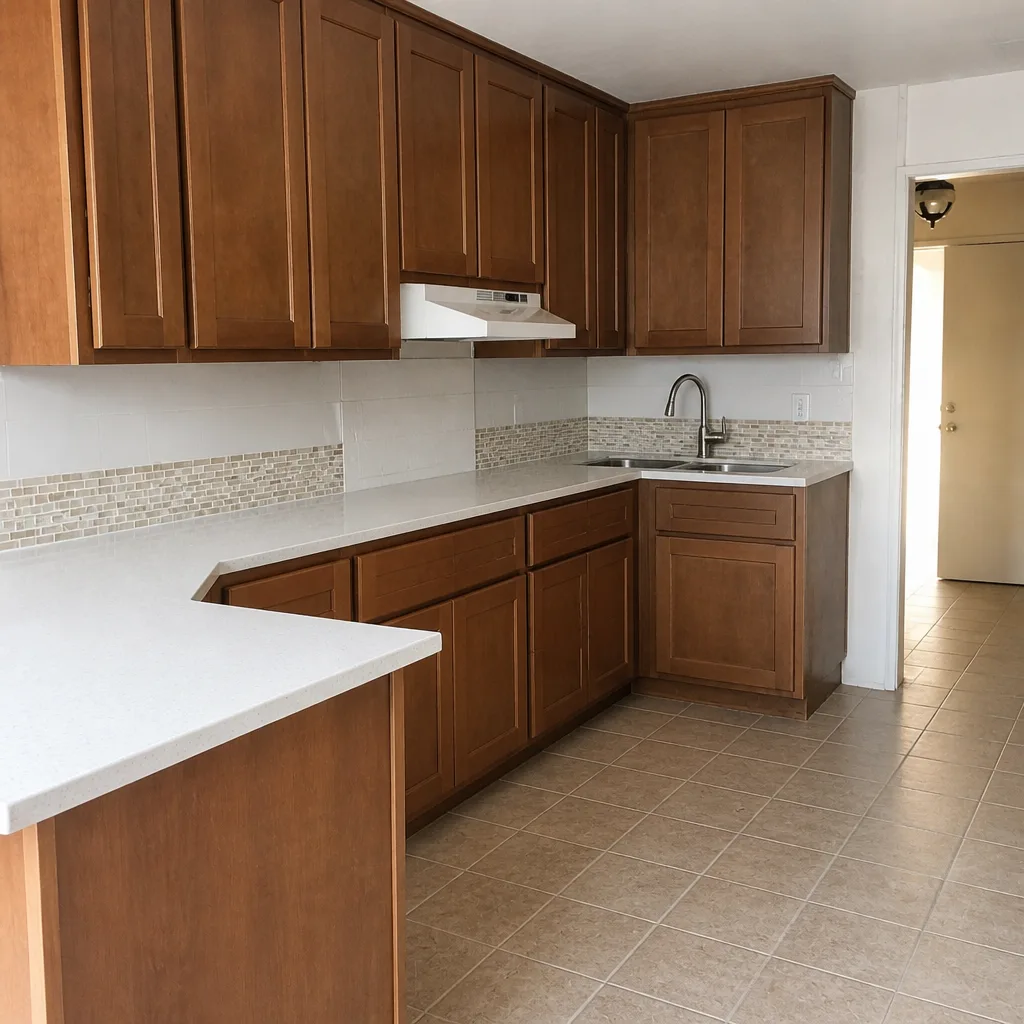
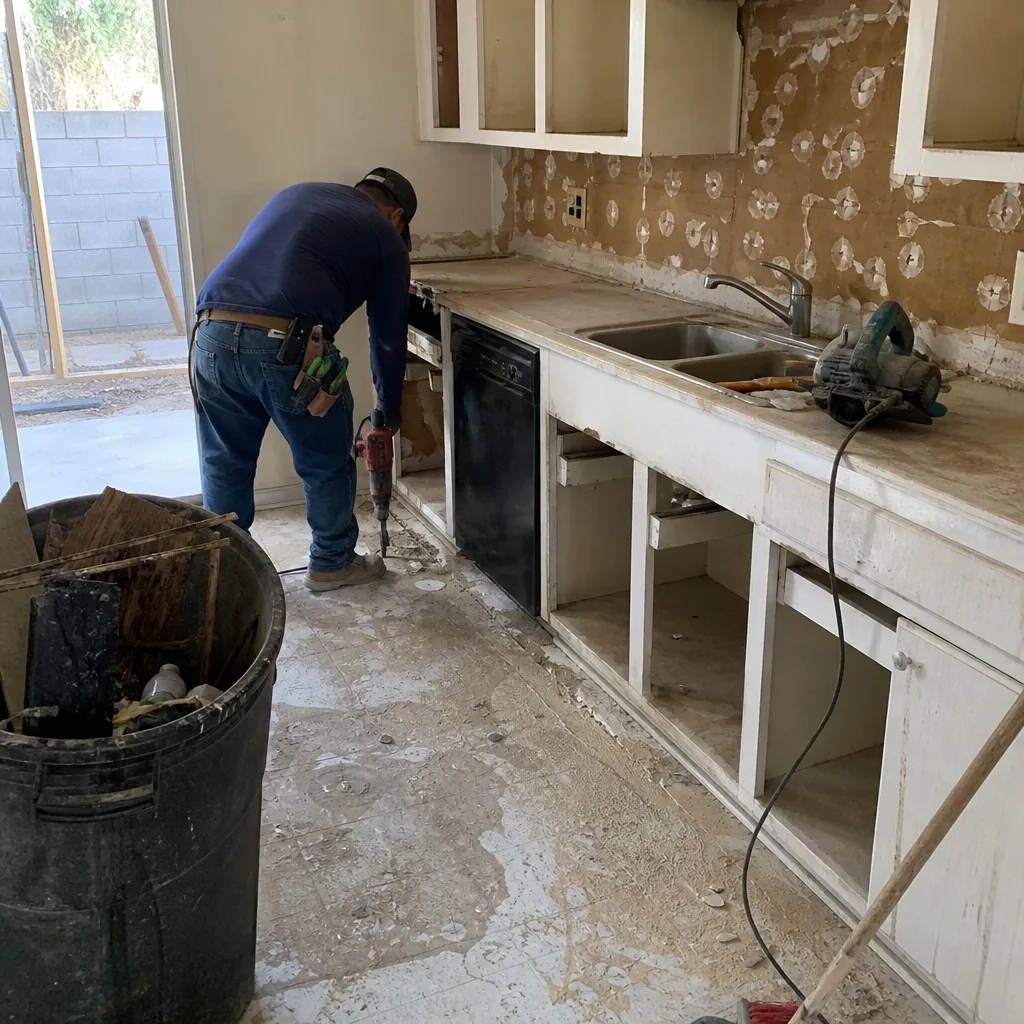
See the difference
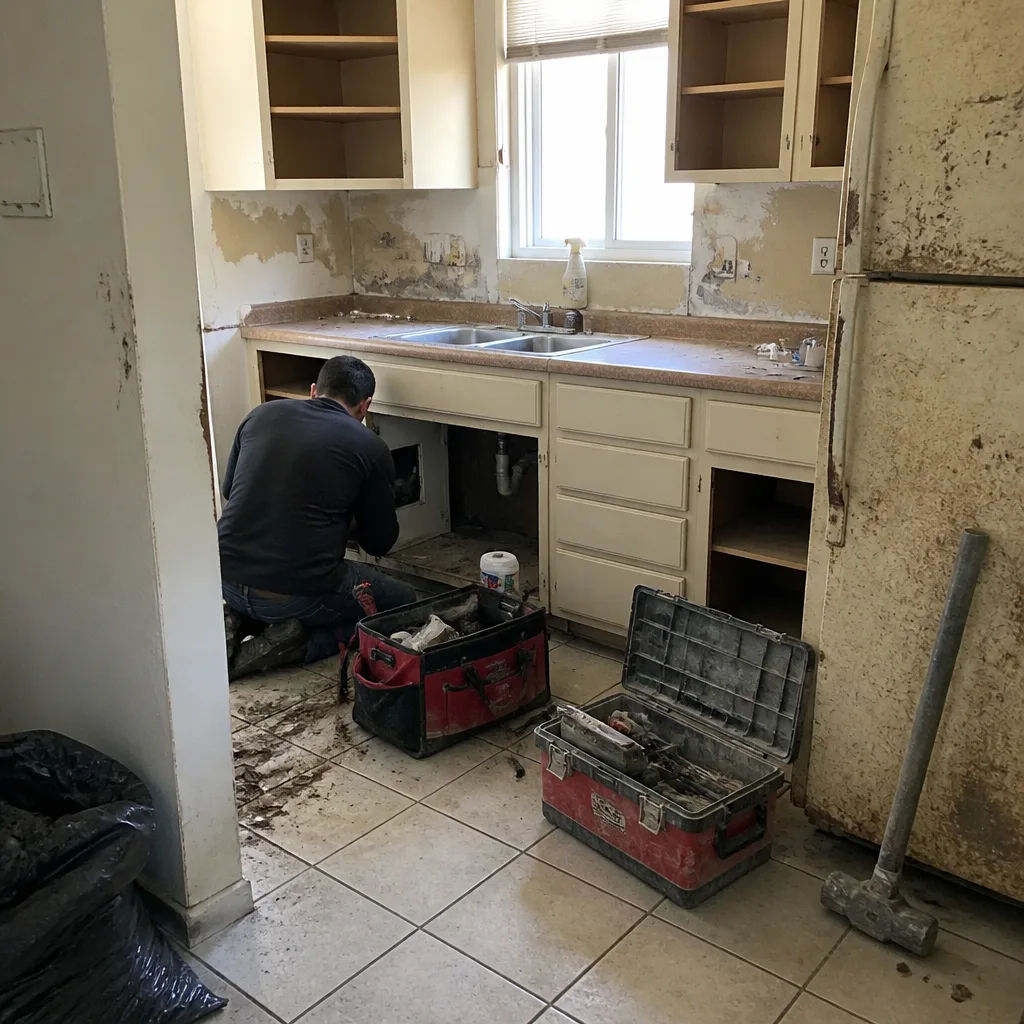 Before
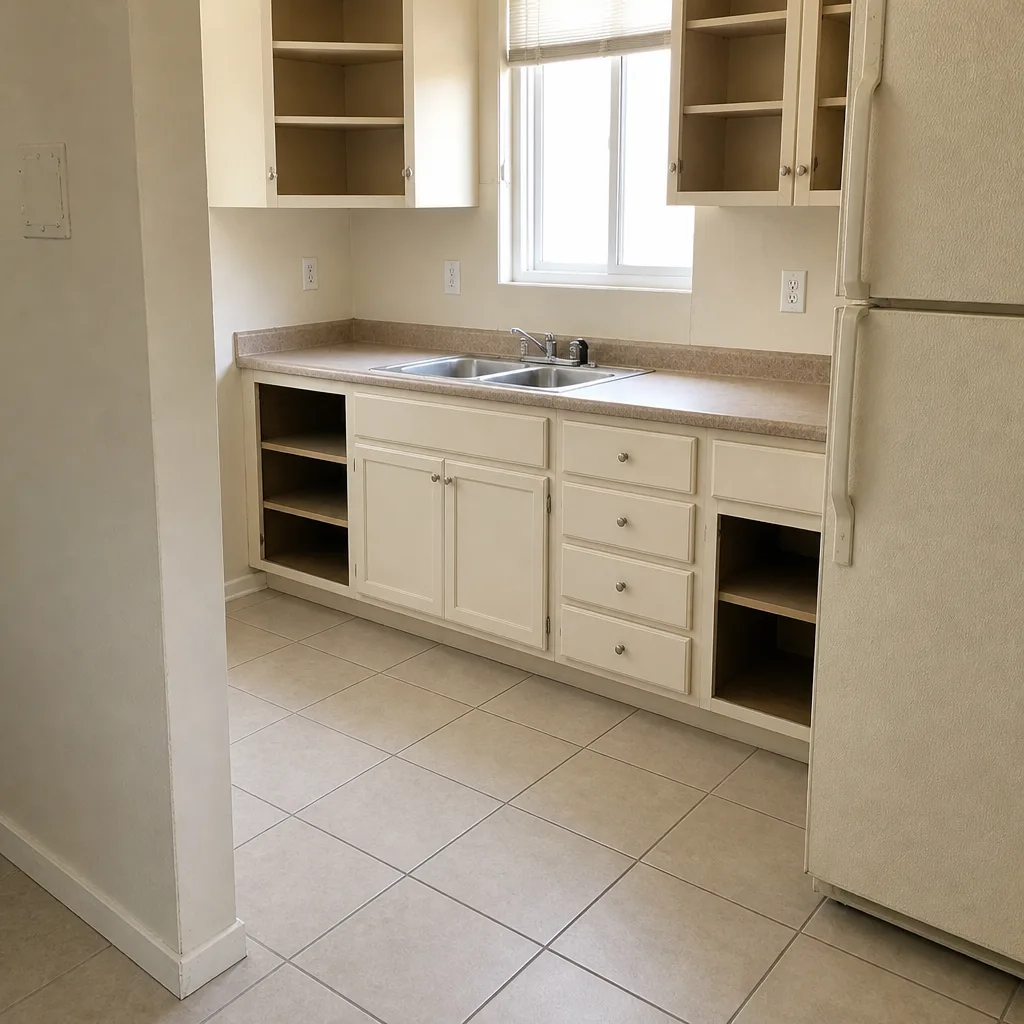 After
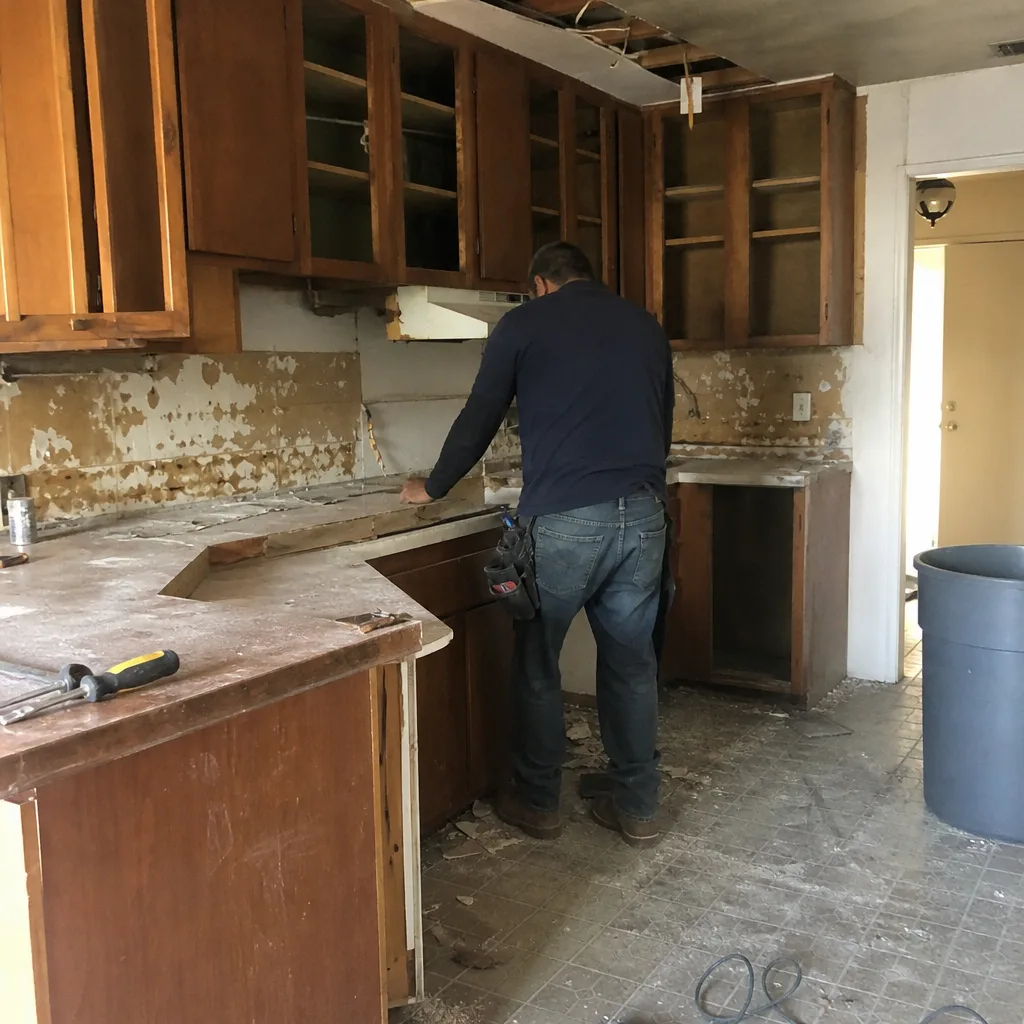 Before
 After
 Before
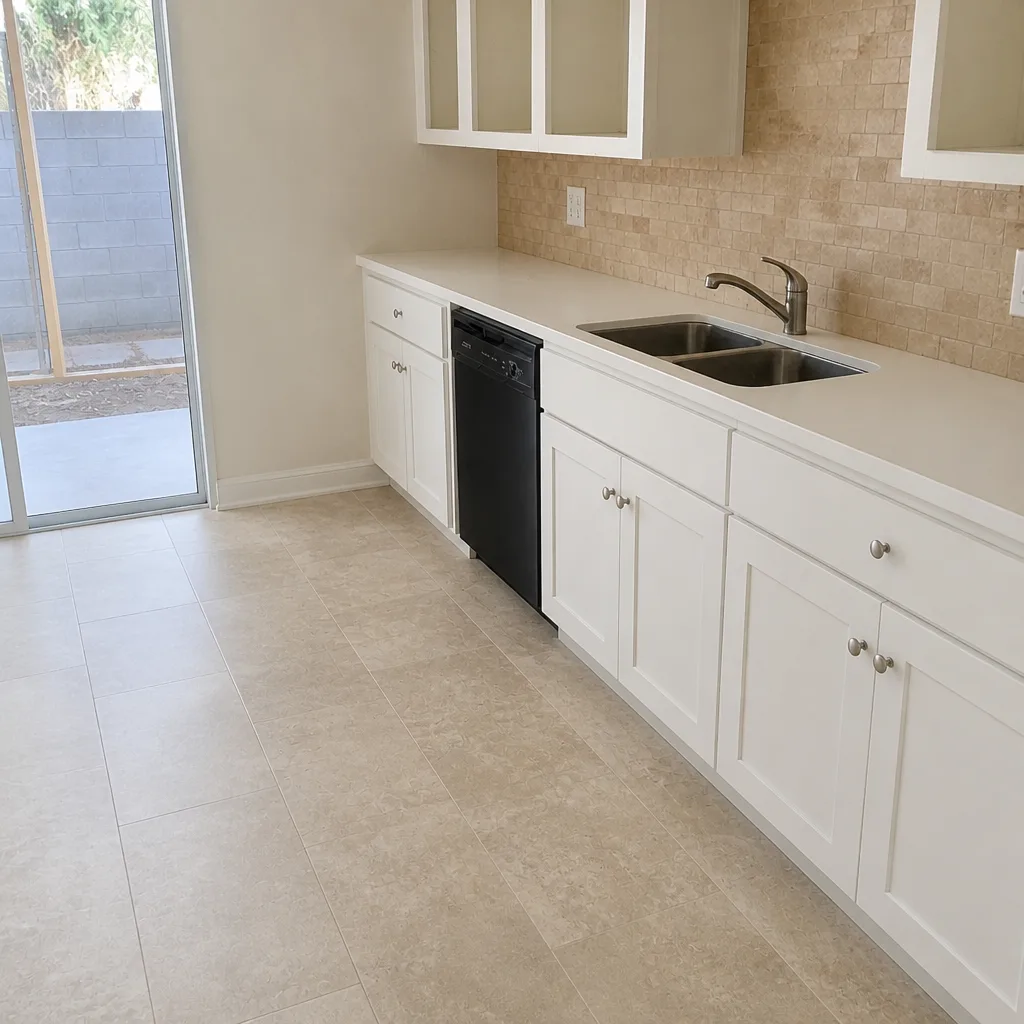 After
When to Call a Professional
Call a specialist when a warning sign is repeatable, seasonal, or affecting more than one cabinet, seam, or fixture. A single door that’s drifted slightly out of alignment or one mineral spot on a faucet isn’t a call. Multiple doors failing near the same wall, a countertop seam that catches a fingernail, drawers sticking year-round, moisture on cabinet interiors above the range, or grout cracking in the same line season after season – those are events to get eyes on. If you’re mid-remodel, call before the punch list closes, so grout widths, reveal gaps, and seam flushness get corrected while the work is still open. Kitchen Remodel North Las Vegas offers free estimates in North Las Vegas – call (833) 620-5631. We answer 24/7. Fast dispatch from 7am to 7pm, Sunday through Friday.
Frequently Asked Questions

The most common warning signs are cabinet finish bubbling near windows, sticking drawers that aren’t humidity-related, unlevel countertop reveals, grout cracking in the same line, and moisture accumulating on cabinet interiors above the range. These point to finish spec problems, substrate instability, or ventilation shortfalls rather than pure cosmetic wear. If you’re seeing two or more together, call (833) 620-5631 for a free estimate.
Not necessarily – it’s usually a sign the wrong finish was specified for that exposure. North Las Vegas delivers intense UV and heat through west- and south-facing glass, and a finish designed for a shaded wall can fail in a few summers regardless of cabinet quality. When we spec KraftMaid or Wellborn cabinets, the finish choice is matched to the room’s actual sun and heat load. Call (833) 620-5631 to talk through a finish spec for your kitchen.
Mineral deposits wipe away cleanly with a damp cloth and return only after water sits. A failing seal leaves staining with shape and direction – a crusty ring at the fixture base, a white line under a handle, or buildup collecting on only one side. When staining has a shape, check the cabinet floor and substrate under the sink. Call (833) 620-5631 for an inspection and estimate.
It depends on how many signs are showing and how they’re connected. A single door with a failed finish or one sticking drawer is usually a repair – new door, adjusted slides, corrected finish spec on that run. Multiple door de-laminations, a raised countertop seam, and toe-kick gaps widening together usually point to a full re-scope of the cabinetry and surfaces, because the underlying cabinet base is what needs correcting. Call (833) 620-5631 for an in-person evaluation.
Before the final punch list closes out and the crew leaves. Grout joint consistency, reveal gaps around cabinet doors, countertop seam flushness, sealed stone edges at the sink and cooktop cutouts, and drawer alignment are all easiest to catch while the work is still open. Ask your remodeler to walk you through these items before sign-off. If you’re planning a kitchen remodeling project, call (833) 620-5631 for a free estimate.
Almost always a ventilation problem, not a cabinet problem. An undersized, improperly vented, or recirculating hood leaves steam and airborne grease in the kitchen, which attacks the cabinet finish above the range and any surface it settles on. Fix the ventilation first, or the new cabinets will fail the same way. Call (833) 620-5631 to review the hood, ducting, and cabinet finish above your range.
The Bottom Line
Kitchen warning signs in North Las Vegas aren’t shows of force – they’re small, repeatable details. Cabinet finish bubbling on one sun-exposed wall, staining that has a shape rather than just mineral spots, drawers that stick year-round, moisture above the range, grout cracking in the same line. Each points to a specific cause: finish spec, substrate movement, seal failure, or ventilation shortfall. Catch them early, before repair turns into replacement. Work with a kitchen specialist who knows what to look for – from cabinet box to countertop edge to sink cutout, one accountability. Call (833) 620-5631 for a free estimate. We answer 24/7. Fast dispatch from 7am to 7pm, Sunday through Friday. You can also learn more about Kitchen Remodel North Las Vegas, our kitchen remodeling scope, and our cabinet installation work in North Las Vegas.
Written by the team at Kitchen Remodel North Las Vegas.